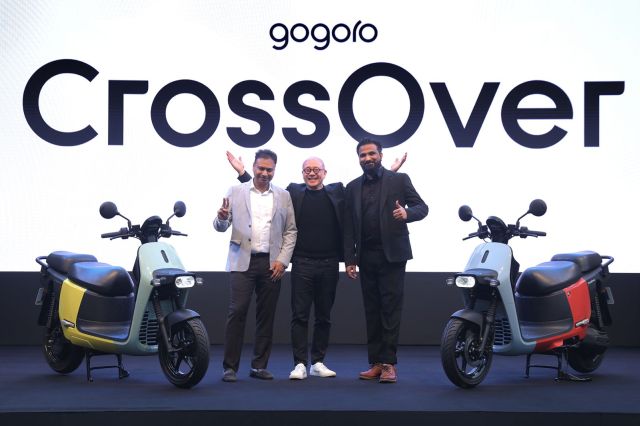
Gogoro, a Taiwanese tech giant, have launched their battery-swapping ecosystem and unveiled their first-ever made-in-India smart scooter, the CrossOver GX250.
Best Bikes in India | No.1 Two Wheeler Magazine

Gogoro, a Taiwanese tech giant, have launched their battery-swapping ecosystem and unveiled their first-ever made-in-India smart scooter, the CrossOver GX250.
Petronas, the official lubricant supplier to the intermediate and lightweight classes, have announced new sustainable fuel for Moto2 and Moto3 starting 2024, at the Malaysian GP.

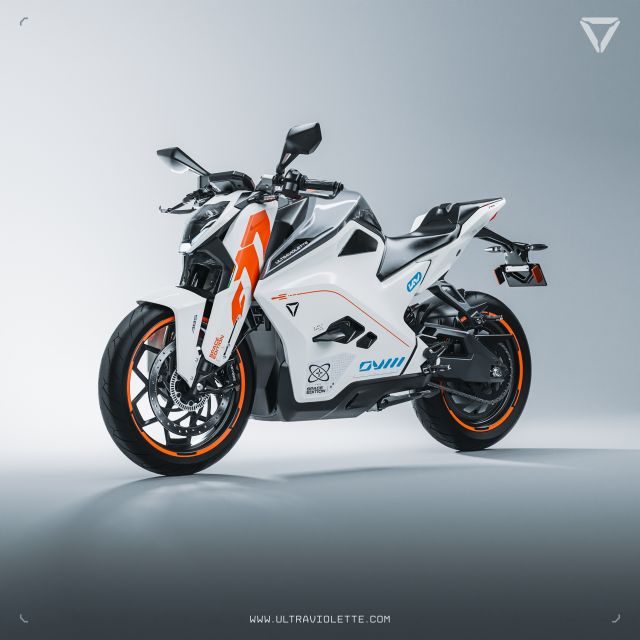
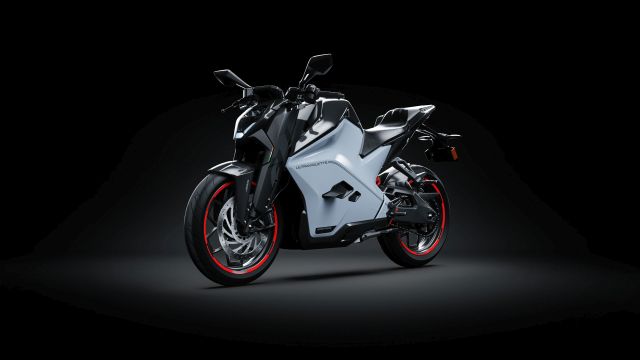
The Ultraviolette F77, the company’s flagship model, was launched in its international spec at EICMA 2023 alongside the brand’s F99 Factory Racing Platform.
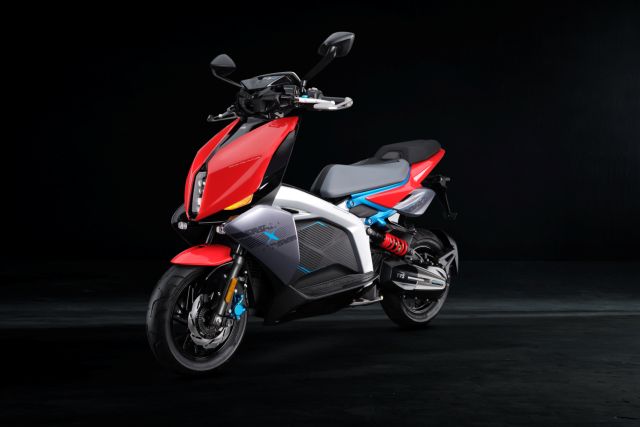
The TVS X, TVS Motor’s latest offering is the first e-scooter to get ABS and RAM air cooling.
The Ultraviolette F77 Space Edition, priced at Rs 5.6 lakh (ex-showroom), comes with aerospace grade materials and is a tribute to Chandrayaan-3 and India’s Stellar Space Odyssey.