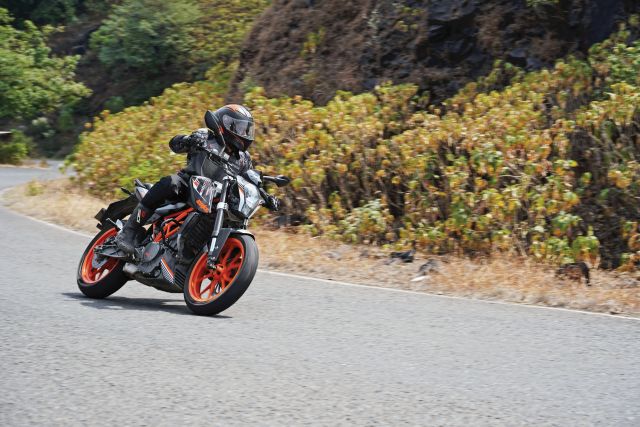
It’s barely been a month and we’ve already crossed the threshold and are ready with our second part of the CEAT Zoom Rad X1 tyres long-term review. The new tyres are so confidence-inspiring that we just couldn’t resist going on longer rides. As a bonus, we also share some important tyre maintenance tips to help extract the most from these prized tyres
Story: Azaman Chothia
Photography: Apurva Ambep
As has been reported in these columns earlier, we recently installed a pair of CEAT Zoom Rad X1 rubber on my 2016 KTM 390 Duke. Before I knew it, the tyres had already crossed the breaking-in period and they were all set to take on the twisties. The idea is to understand how these tyres perform under hard riding. Over the last month, I have been using the bike within the city as well as for occasional weekend rides and have clocked approximately 2,000 kilometres. Here’s how they’ve coped thus far.
Within the city, the tyres have been performing well and remain composed over varying road conditions. What’s most impressive is that they provide positive feedback from the front end while the bike is tipped over and even under hard braking. When the front tyre gave me great feedback, I was able to push the bike harder to extract all of the grip available from the CEAT Zoom Rad X1 radials. These tyres also enhance how safe a rider feels on the motorcycle.
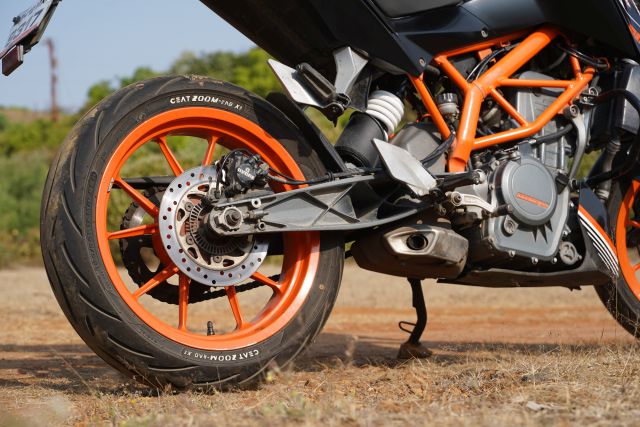
As we all know, the KTM 390 Duke is a manic 43 horsepower machine that puts down a lot of power to the rear wheel. Back when my older set of tyres were running out of grip, the rear tyre would wheelspin in place before taking off from the line. With this new set, I am back to being confident when it comes to quick launches. The rear handles all of the power being put down to the rear wheel and this makes quick launches off the line effortless as the sticky CEAT rubber begins to get to work.
The CEAT Zoom Rad X1 radials are H-rated tyres, which means that they have been designed especially for stability at high speed. The “H” rating signifies that they have been tested at speeds of up to 210 km/h. On empty stretches of the highway, I managed to hit the 160-km/h mark and the bike remained stable and planted throughout. The tyres provided ample grip even over a few wet patches that I encountered and not once did the tyres feel nervous or lacking in terms of grip.
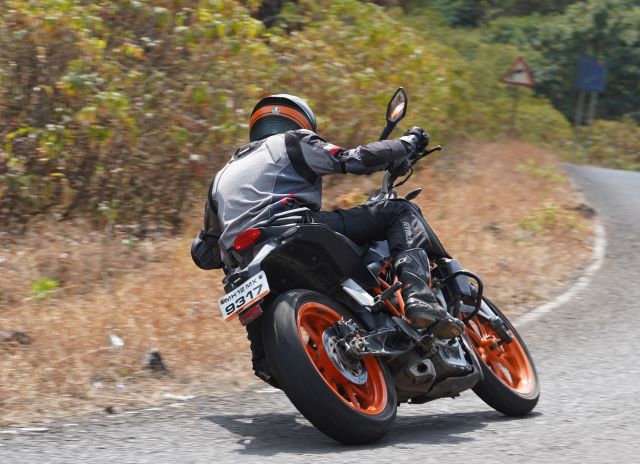
Many riders tend to love the idea of cornering on a motorcycle and it is a skill that requires a lot of time to perfect. I have spent many years trying to hone my skills and I am happy to report that these tyres have been helpful in my journey so far. While being gentle and smooth with the throttle, the tyres help to hold a perfect line and stay planted through the remainder of the turn. This is confidence-inspiring and eliminates the fear factor from the mind of a rider. There were also a few situations where I had to get on the brakes suddenly for an emergency stop. In those situations, the tyres compliment the brakes as the bike comes to an instant stop in a sharp and precise manner.
While weekend rides are a lot of fun, one should do some mandatory tyre maintenance checks before embarking on long rides. We have listed below a few key points which should be helpful if you’re planning to head out on a long road trip.
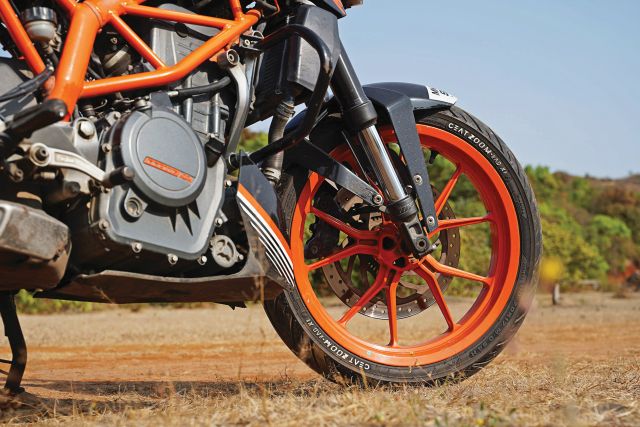
Tyre Pressure
In a four-wheeler, four points are in contact with the ground which provides greater grip and stability. On a motorcycle, on the other hand, only two points are in contact with the road surface. Therefore, one of the main things to check before a ride is tyre pressure. It is advisable to buy a small pressure gauge so that one can quickly check tyre pressures on the go.
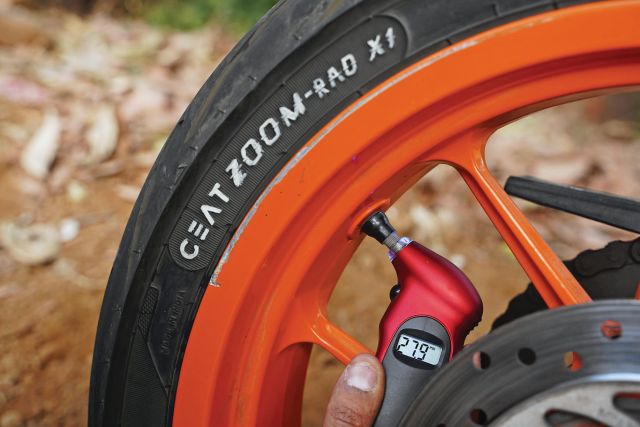
For instance, the KTM 390 Duke has a recommended tyre pressure of 29 psi (front and rear) and with a pillion, the rear tyre pressure should go up to 32 psi. Make sure to check the manufacturer’s recommended tyre pressures for your bike. Underinflated tyres hamper the bike’s handling, reduce tyre life, and also increase fuel consumption. On the other hand, overinflated tyres reduce the size of the contact patch with the road, which makes them more prone to getting cut or blown out.
Rim Structure
Check the structure of both the rims properly before every ride. Sometimes rims get bent due to unfortunate high-speed impacts or due to severe potholes. If your bike starts to judder and feels wobbly, stop immediately and call for help. It is extremely unsafe to ride in such conditions.
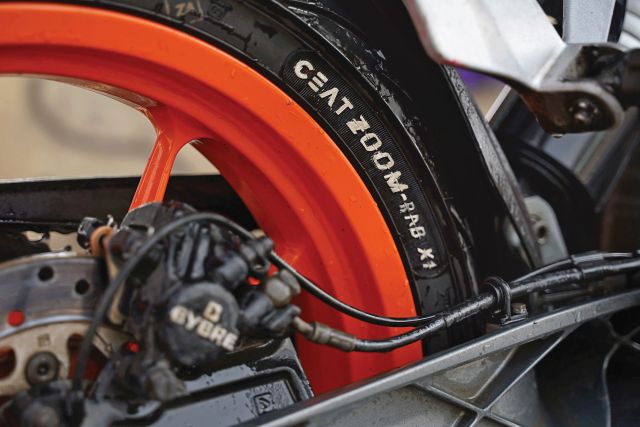
A bent rim is an easy fix provided the damage isn’t too extreme, although it should be done at an authorized dealership. Don’t try to fix a bent rim by yourself because it is not an easy task and requires the right machinery and an experienced hand.
Valve Stems, Cores, and Caps
While checking tyre pressure from time to time, one should note down the tyre pressures between their inspection intervals. If the tyre is losing over three psi in just a few weeks, there may be a leak causing air loss. This may be because the valve stems and cores have become old or damaged.
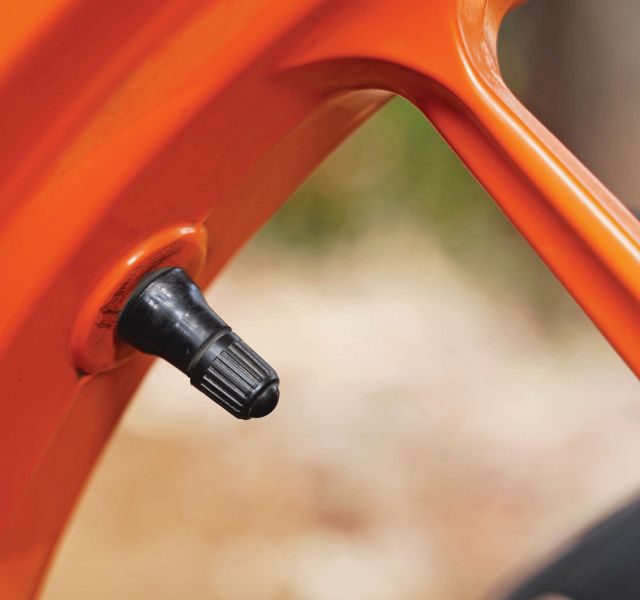
They should essentially be replaced while installing new tyres. Valve caps should be tightened properly to protect the valve from dust, dirt, and moisture. Many times, valve caps tend to get stolen or fall off because they are not tightened properly. This is why a rider should keep an emergency set of caps handy for his/her motorcycle.
Weight
It is recommended not to exceed the maximum load rating stamped on the tyre sidewall. Plan in advance. Before a trip, one should thoroughly check the total weight of luggage, equipment, and riders astride the motorcycle.
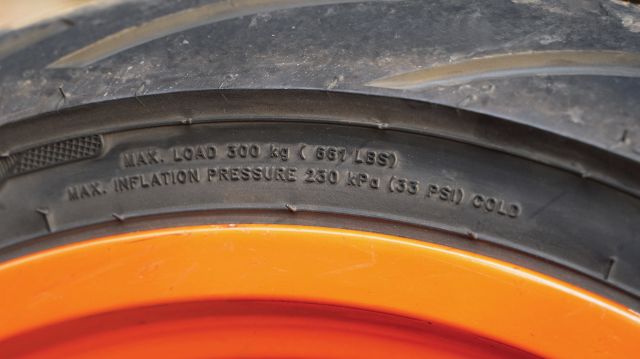
In my case, the KTM 390 Duke is not a touring motorcycle and I don’t tend to carry a lot of luggage when astride it. This is more useful for ADV riders as they usually travel with a pillion and panniers full of assorted luggage.
Tyre Washing
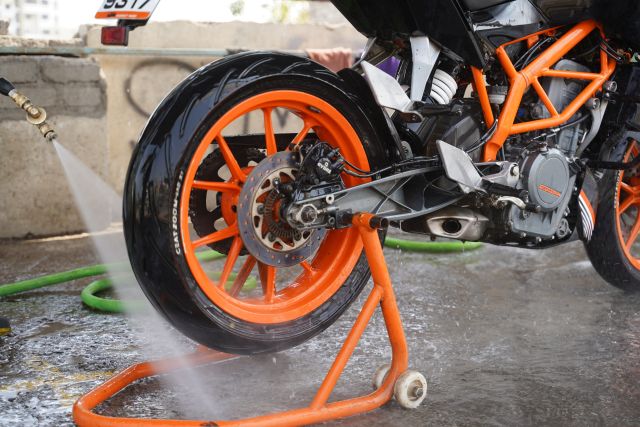
While taking the motorcycle to get cleaned up, we should also get the tyres scrubbed gently and washed. This helps remove residue such as sand, dirt or pollutants from the tyres. After the soap solution is washed off, carefully inspect the wet tyres. This will easily reveal cracks, punctures, or bumps on the tyre surface. If there are any leaks, you’ll notice bubbles as the air tries to escape.
We hope you will find these tips helpful and will spare the time to include them in your day-to-day riding routine. As for the CEAT Zoom Rad X1 tyres, they have plenty more to offer and I hope to explore them further in the coming months. So, stay tuned!
Click here to read the first part of our CEAT Zoom Rad X1 tyre test

Leave a Reply