
What better way to achieve your dream of being a racer than to join the California Superbike School (CSS) to learn the basics of riding on a track?
Story: Ajit Menon M
Photography: Aditya Bedre
I have been riding motorcycles for almost 14 years now and there’s nothing more significant than getting your knee down while banking through a corner. Trust me on this. It’s the only question you get asked by your fellow riders. So, when our editor asked me if I wanted to join the CSS for their three-day programme which would get me their Grade 3 certificate and bring me closer to my dreams, I said yes.
Now, CSS is a motorcycle training programme not a racing school. They come to India about once a month to teach their students how to ride on a track more confidently while staying aware of everything happening around them. You are to become a better rider, not a chapri (loosely translated, “Street Rossi”).
This was my second time riding on a track. My first experience was at the Kari Motor Speedway in Coimbatore that lasted two days but that was almost six years ago. The only thing I learned from that session was that I had to keep the toes of my feet on the foot-pegs. Mind you, it was being conducted by folk who had just experienced racing and the teacher-to-student ratio was 1:15. So, there was very little that I could have learned. Well, the training at CSS was entirely different.
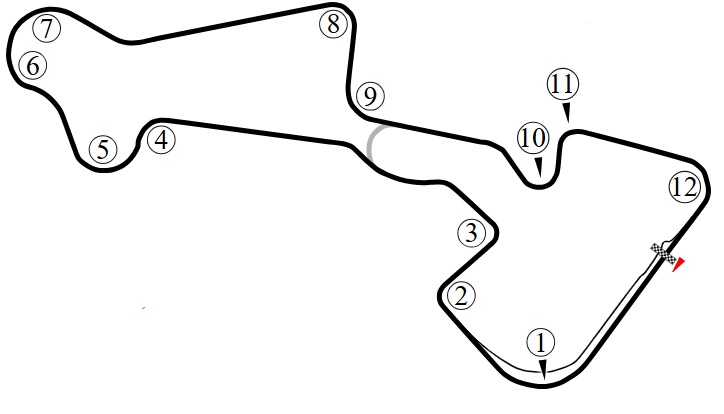
I wanted things to go smoothly, so I started by learning the track layout of the Madras International Circuit (MIC). The MIC was built in the late 1980s and inaugurated in 1990. The track is owned by the Madras Motor Sports Club (MMSC) and was previously known as the Madras Motor Race Track (MMRT). The circuit is around 3.7 kilometres long and 12 metres wide. The track is also FMSCI certified to conduct F3 races.
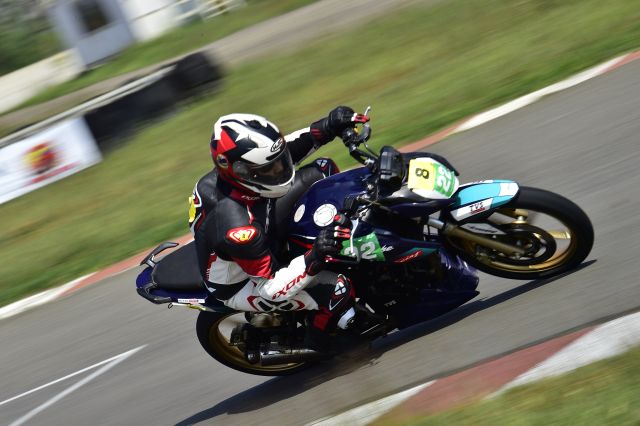
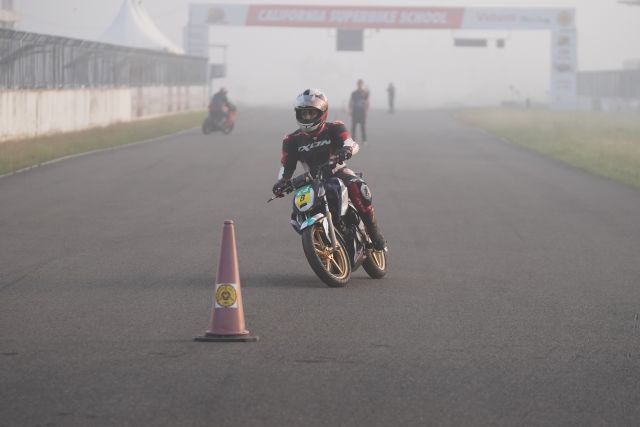
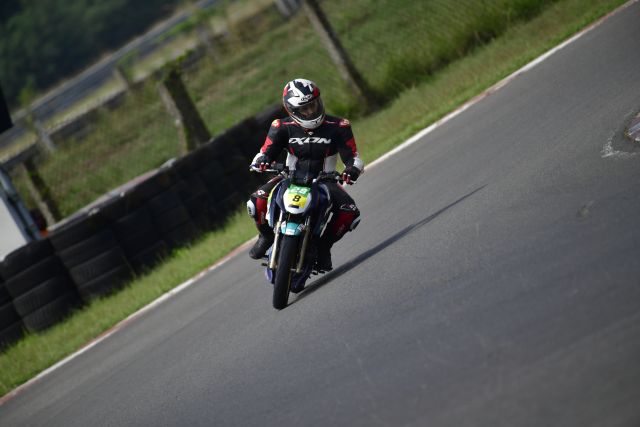
Before heading to Chennai, I was asked whether I would like to ride an RC390 or the Apache RTR 200 4V while on track. I politely declined the RC390 as this was just my second time at the track and insisted that I would be perfectly happy with the RTR 200. Just so you know, this is not the RTR 200 you see on the streets; this one is specced up. Gone are the indicators, the headlight, and the factory exhaust system. Instead, you get a significantly lighter bike capable of a higher top speed because the rear sprocket has fewer teeth, a free-flowing exhaust, and it is devoid of a kick-starter. Also, the rear tyre profile is 110/60, so you can get your knee down in one corner and then quickly pivot and repeat the exercise.
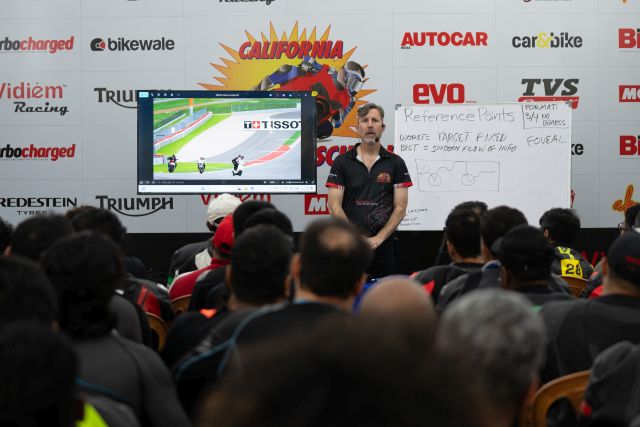
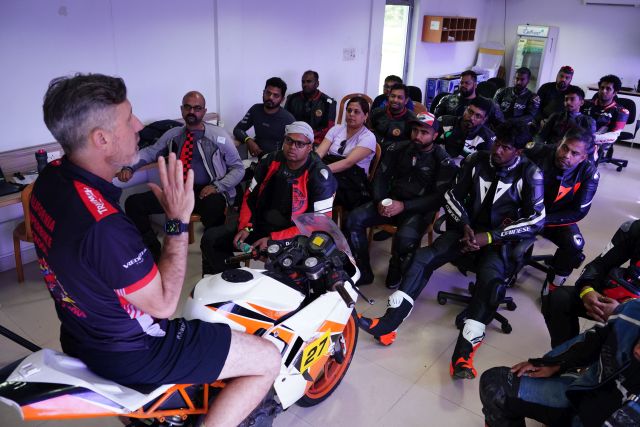
Day one began with the coaches explaining to us how we would be trained over the next three days. We would have five sessions a day which would include 20 minutes of riding, five minutes of discussion with our on-track coach and 15 minutes to learn a lesson to be incorporated into the next session, and 20 minutes to rest before we started our next ride. Like everyone else, I was wondering why we would need 20 minutes to rest. I was wrong.
The first session began with us riding the bike in fourth gear around the track without using our brakes as this was supposed to heighten our sense of speed while taking corners. We were supposed to be smooth, even, and constant through every corner. The first couple of laps were a bit difficult but I understood what our track instructor meant. You need to master your throttle.
After the first few rounds, we returned to the instructor who told us that the second session would have us turning in at points on the track marked with an “X”, so that we could learn when and where to turn in. The second round started and I noticed that I was entering corners much earlier than at the marked points. By the end of the second session, I was more or less turning in where they wanted us to but I was still not getting my braking right as we were again supposed to do this in fourth gear without using the brakes.
Day one wore on with quick turning drills, staying relaxed on the bike, and two-step turning where you eye your turning point with your peripheral vision, keep the apex of the corner in sight, and then turn in when you reach the point. All the students became slightly better with their riding skills over the day but my mind was telling me that I was the best student these guys had. That they must be amazed by my skills and by my turning-in techniques and they should be discussing it without my knowledge. That though Jorge Martin would have overtaken me, Pecco Bagnaia wouldn’t have a chance. Boy, was I in for a surprise!
It was day two and I arrived a little early to take some pictures for the ’Gram and X. I walked along the track to find the turning points and was trying to think of things racers would notice but came up blank. Oh, well, racers are born millionaires with so many people hired to do the work for them. The day began with me trying to learn a turning manoeuvre and was told to lean in with the bike instead of counter-leaning even though my speed was a lot less.
The sessions started and we were instructed to find points where we should brake, using two laps of the first session to go at a slow pace for this. I knew that the turn markers for C1, C4, and C8 stood as my turning point references but I still needed to identify the other turning points.
The two laps were almost over and a rider overtook me on an Apache. Going into the second corner, he went very wide, braked, and then started returning to the racing line. I was behind him and I target-fixated on him and ended up colliding with him. Nothing happened to me but the session came to an end and an ambulance was called in to take the other rider to the hospital. I was shaken but the instructors were there to reassure me that accidents do occur and that there was nothing that I could have done differently.
The next session was the three-step which was a step above the two-step drill that we did on the first day. Now you were supposed to not only eye the turning point and the apex, but also your exit point. A bit shaken from my last session, I went in and rode a bit gingerly for the first few laps but my dream of becoming a racer came back and I was riding like the wind again.
Again, day two passed quickly with our instructor reminding us that we should have a wide view to capture all that the track might throw at us. Then the session went on to the transitions where we should physically look ahead to know where we were headed. The day came to an end with a session on trail braking. While trail braking wasn’t something I had practised much, the other two techniques were pretty much ingrained in my brain because of all the riding that I have done thus far. The students headed home, ready to rest, as day three was going to be the hardest.
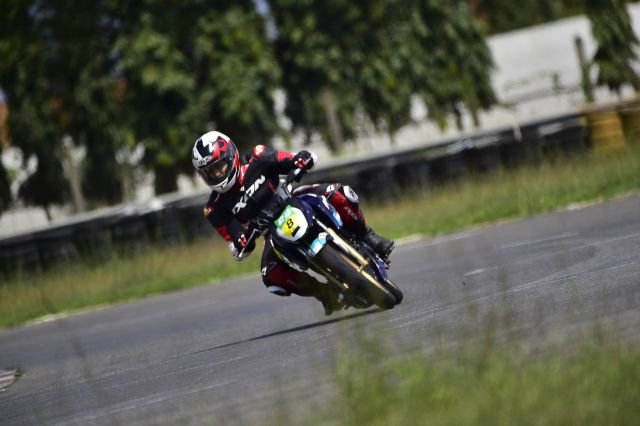
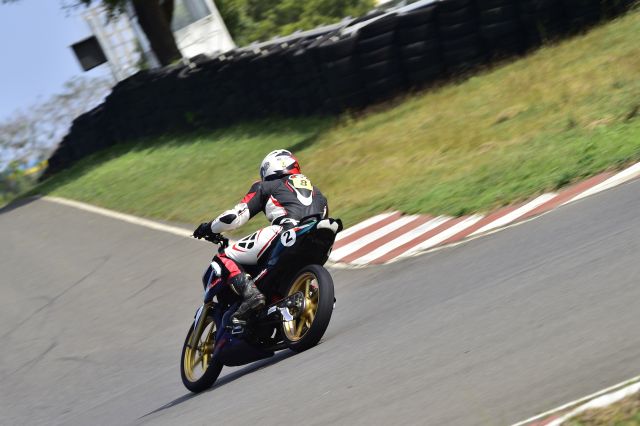
Day three was the main reason I had come to the track: to get my knee down. I know that getting my knee down doesn’t necessarily mean that I am the fastest but it’s a rider’s craving that needs to be indulged. To tell all the other wannabe racers, ‘Yeah, been there, done that.’
The day started off with the coach telling us how to get ready for a corner. You need to shift your hip in the direction of the turn and ride through it with your knee extended. We got on our bikes and I was wondering why I didn’t think of this earlier. Though I forgot to actually shift my hip during a few corners, I did shift it for a few turns and felt I was getting smoother and faster.
This was followed by a session on how to extend your knees for a corner, the hip-flick, hook turns, and the final one, called the pick-up. The hip-flick was quite unnatural but it felt great once I got the hang of it. Typically, when a rider is told to shift their hip for a turn, they’ll return to their seat after the turn by standing up which shakes up the bike. Instead, you need to flick your hip to the side to ensure a smooth transition. The pick-up session just meant that your bike should be as vertical as possible with you hanging off it while revving the engine. I have always been doing this, so this wasn’t new to me. I just tried the last session with all the things I had learned over the course and I could feel a marked improvement over the three days.
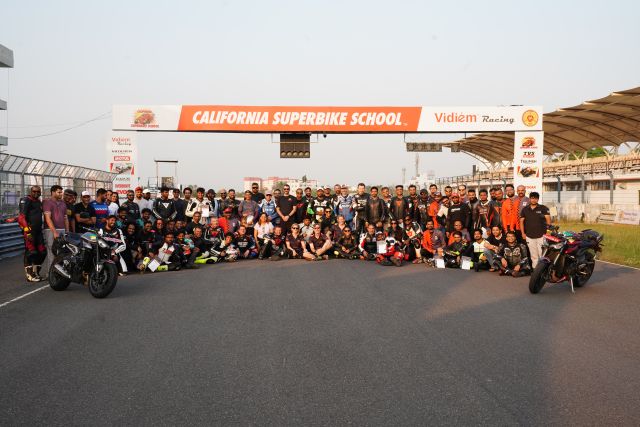
Finally, day three came to an end and I noticed that it wasn’t just me, but almost everyone was complaining about some sort of pain somewhere in the body. We were awarded our certificates but I had more important things on my mind. Will I do the CSS Levels 1-3 again? Yes. Did I achieve a knee down? No. Was I close to getting it? Probably yes. Maybe, some other day then.

Leave a Reply